Seascape Photography: Essential Tips & Techniques
From serene sunsets to crashing waves, seascape photography offers a world of creative possibilities. But how do you begin? This guide explores the art of seascape photography, providing practical tips and tricks for capturing breathtaking coastal images.
Table Of Contents:
- Planning Your Seascape Photography Shoot
- Mastering Composition For Seascape Photos
- Understanding Shutter Speed in Seascape Photography
- Essential Gear for Seascape Photography
- Finding Inspiration for Seascape Photography
- Post-Processing Your Seascape Photos
- Use the HSL Panel For Dramatic Color Grading
- Embracing the Challenges of Seascape Photography
- Seascape Photography FAQs
- Conclusion
Planning Your Seascape Photography Shoot
Good seascape photos start with planning. This means understanding tides, weather, and lighting conditions.
A reliable tide forecasting tool, like NOAA, helps predict water levels and how they might impact your composition.
Weather also greatly affects your pictures. Dramatic storms create stunning wave action, while clear skies yield beautiful light reflections. Use a weather app to find ideal shooting times.
Planning also involves packing your gear. Create a checklist that includes items like your camera, a wide-angle lens, and a tripod.
Don’t forget filters (ND filters, graduated ND filters, and polarizers). Additional items may include lens cleaning supplies, extra batteries and memory cards, a headlamp for golden hour shoots, and a comfortable camera backpack.
Mastering Composition For Seascape Photos
While scenic locations are important, effective composition is crucial for impactful seascape images. Apply techniques like leading lines. Use natural elements like shorelines and waves to guide the viewer’s eye. Try compositions that incorporate symmetry in your images .
The rule of thirds is another fundamental technique. Divide the image into nine equal segments to determine focal point placements.
Think about depth of field. This affects how much of your photograph is in sharp focus. For expansive scenes, maximize the depth of field to keep everything crisp. Or focus on a cresting wave or a rock and blur out the background for greater interest.
Vary your perspective. Explore viewpoints beyond ground level. Frame photos uniquely, using rock archways, cliffs, or rocks as captivating foreground elements. Pay attention to the high tide for unique perspectives.
Understanding Shutter Speed in Seascape Photography
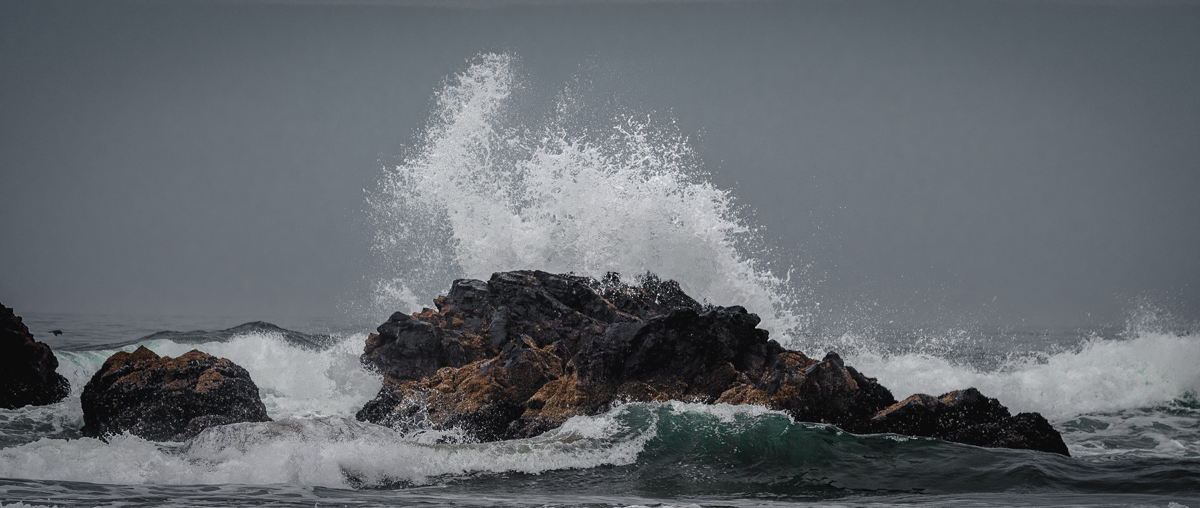
Shutter speed creatively captures motion in your seascape photos. A fast shutter speed freezes water movement, ideal for highlighting details and capturing splashes from waves.
Start around 1/1000s for capturing fast action. Aim for 1/800 – 1/1000 for the best outcome with fine water textures.
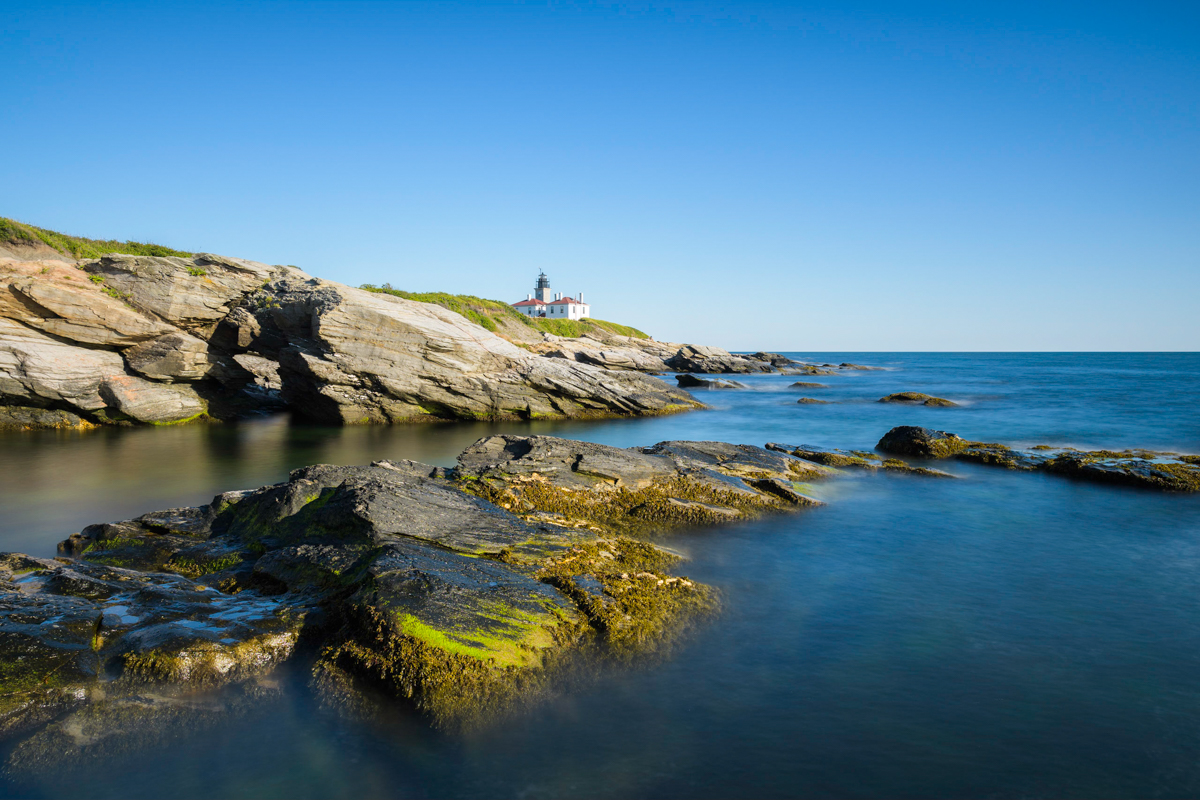
A slow shutter speed creates a smooth, ethereal effect on water. This works well with reflections, sunrises, sunsets, and dramatic clouds. Use a tripod and remote shutter release to prevent blur. Neutral density (ND) filters give you more flexibility with slow shutter speeds.
For an ethereal, dreamy look, experiment with long exposures of 5 – 30 seconds. This will give your seascape photo a very unique feel and make the moving water look almost milky. For these shots, you will most definitely need to use a dark ND filter like a 10 stop Gobe ND filter.
Essential Gear for Seascape Photography
Seascape photography requires specific equipment. Cameras with weather sealing, like the OM-1 Mark II or the OM-1, are a good choice.
They are resistant to rain, splashes, and sand. A rain cover provides extra security. Choose the right lenses: a wide-angle lens (16-35mm) for scale and telephoto lenses for close-ups of distant objects.
Proper equipment ensures quality images. To prepare your gear, follow these steps the evening before your shoot:
- Charge Batteries.
- Clean Camera.
- Prepare Lens/Lenses.
- Check Headlamp/Flashlight.
- Pack bag.
Finding Inspiration for Seascape Photography
Find inspiration on platforms like Instagram, Flickr, and 500px. They showcase captivating images from other photographers. You can also check out publications like National Geographic, Condé Nast Traveler , and Travel + Leisure for inspiring examples.
7 Seascape Photography Ideas
Seascape photography is awesome because the ocean is always changing. This gives you so many different photo opportunities. Here are seven ideas to help you get amazing pictures of the coast:
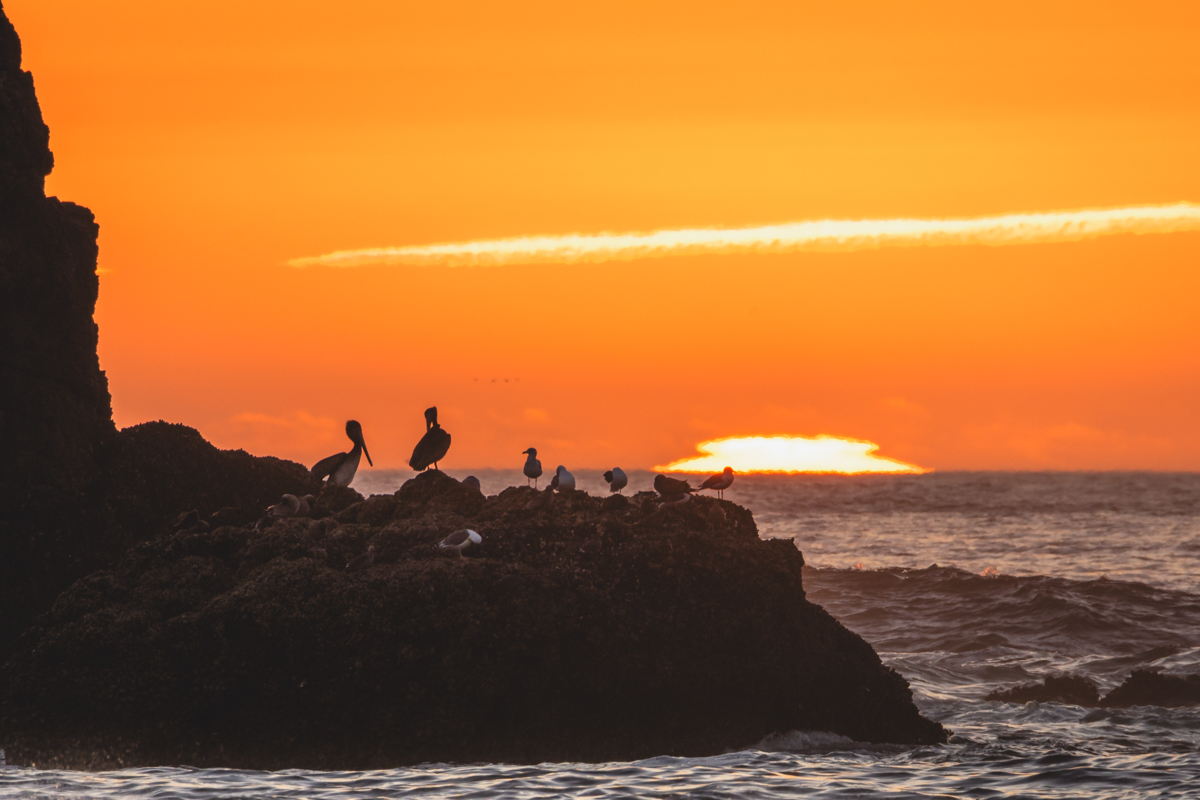
- Sunrise and Sunset: The golden hour is the best time for taking photos. The light is soft and warm during sunrise and sunset. This makes the colors of the sky and water really stand out. You’ll get long shadows and a beautiful glow on the waves.
- Long Exposure: A long exposure makes the water look smooth and silky. It blurs the movement of the waves. This can give your photos a dreamy feel. Experiment with different shutter speeds to get the look you want. This will change based on how fast the water is moving.
- The Tides: Low tide shows interesting textures in the sand and rocks. High tide crashes against cliffs and piers for some dramatic photos. Check a tide chart to plan your shoot.
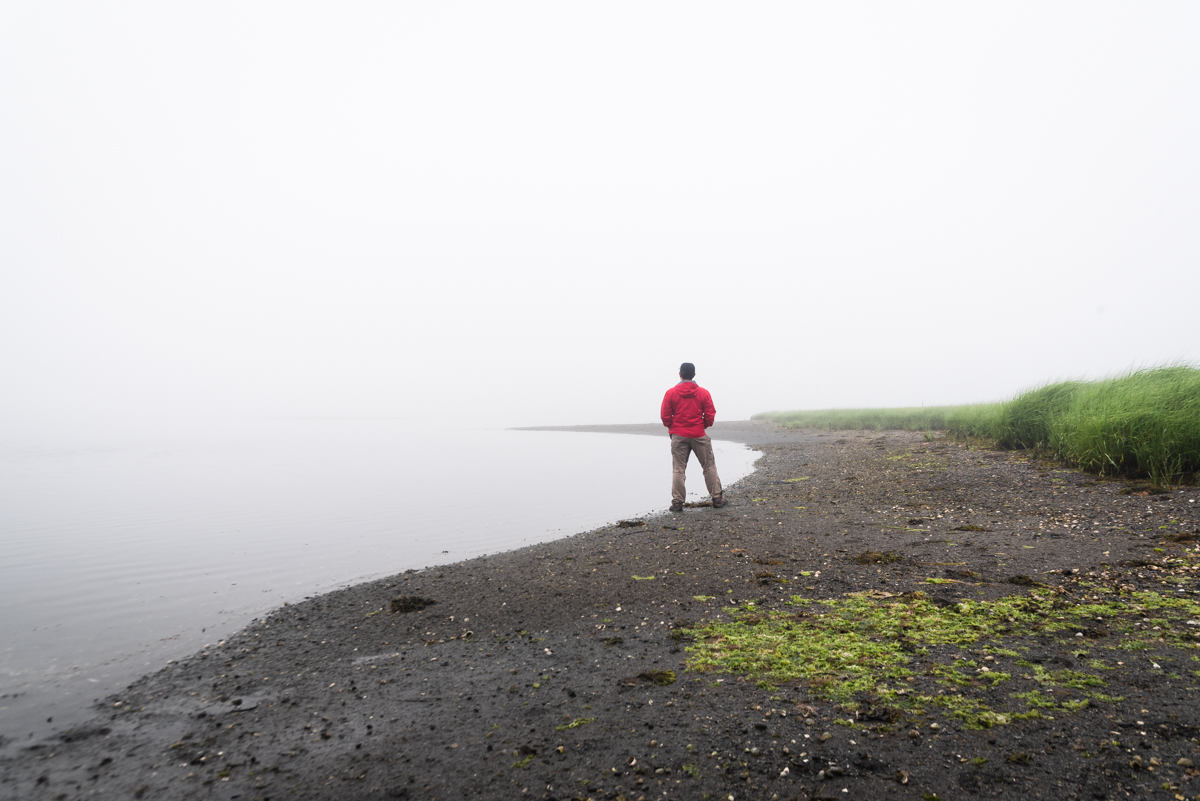
- Weather: Different weather conditions give you totally different photos. Stormy weather brings big waves and dark clouds. Fog can make a seascape look mysterious. Sunny days are great for bright, colorful pictures.
- Reflections: Look for calm water to capture reflections of the sky, clouds, or nearby objects. Reflections can add symmetry and depth to your composition.
- Details: Seashells, footprints in the sand, and patterns in the rocks all make great subjects. Focus on the small details to add interest to your photos. This gives you a different perspective on the beach.
- Incorporate Movement: Capture a bird flying over the water or a wave crashing on the shore. Freezing a moment of action makes your photo more dynamic.
So, get your camera, go to the coast, and start taking pictures! Try these ideas. But also, try new things! The most important thing is to have fun. Explore, and be creative. You’ll discover your own way of seeing and capturing the beauty of the sea.
Post-Processing Your Seascape Photos
Editing enhances your final seascape photos. Software like Adobe Lightroom and Photoshop are essential tools. They allow you to adjust elements like color and sharpness, and even remove unwanted distractions.
Experiment with different post-processing techniques for creative effects. With proper preparation, you can really transform your images during editing.
Use the HSL Panel For Dramatic Color Grading
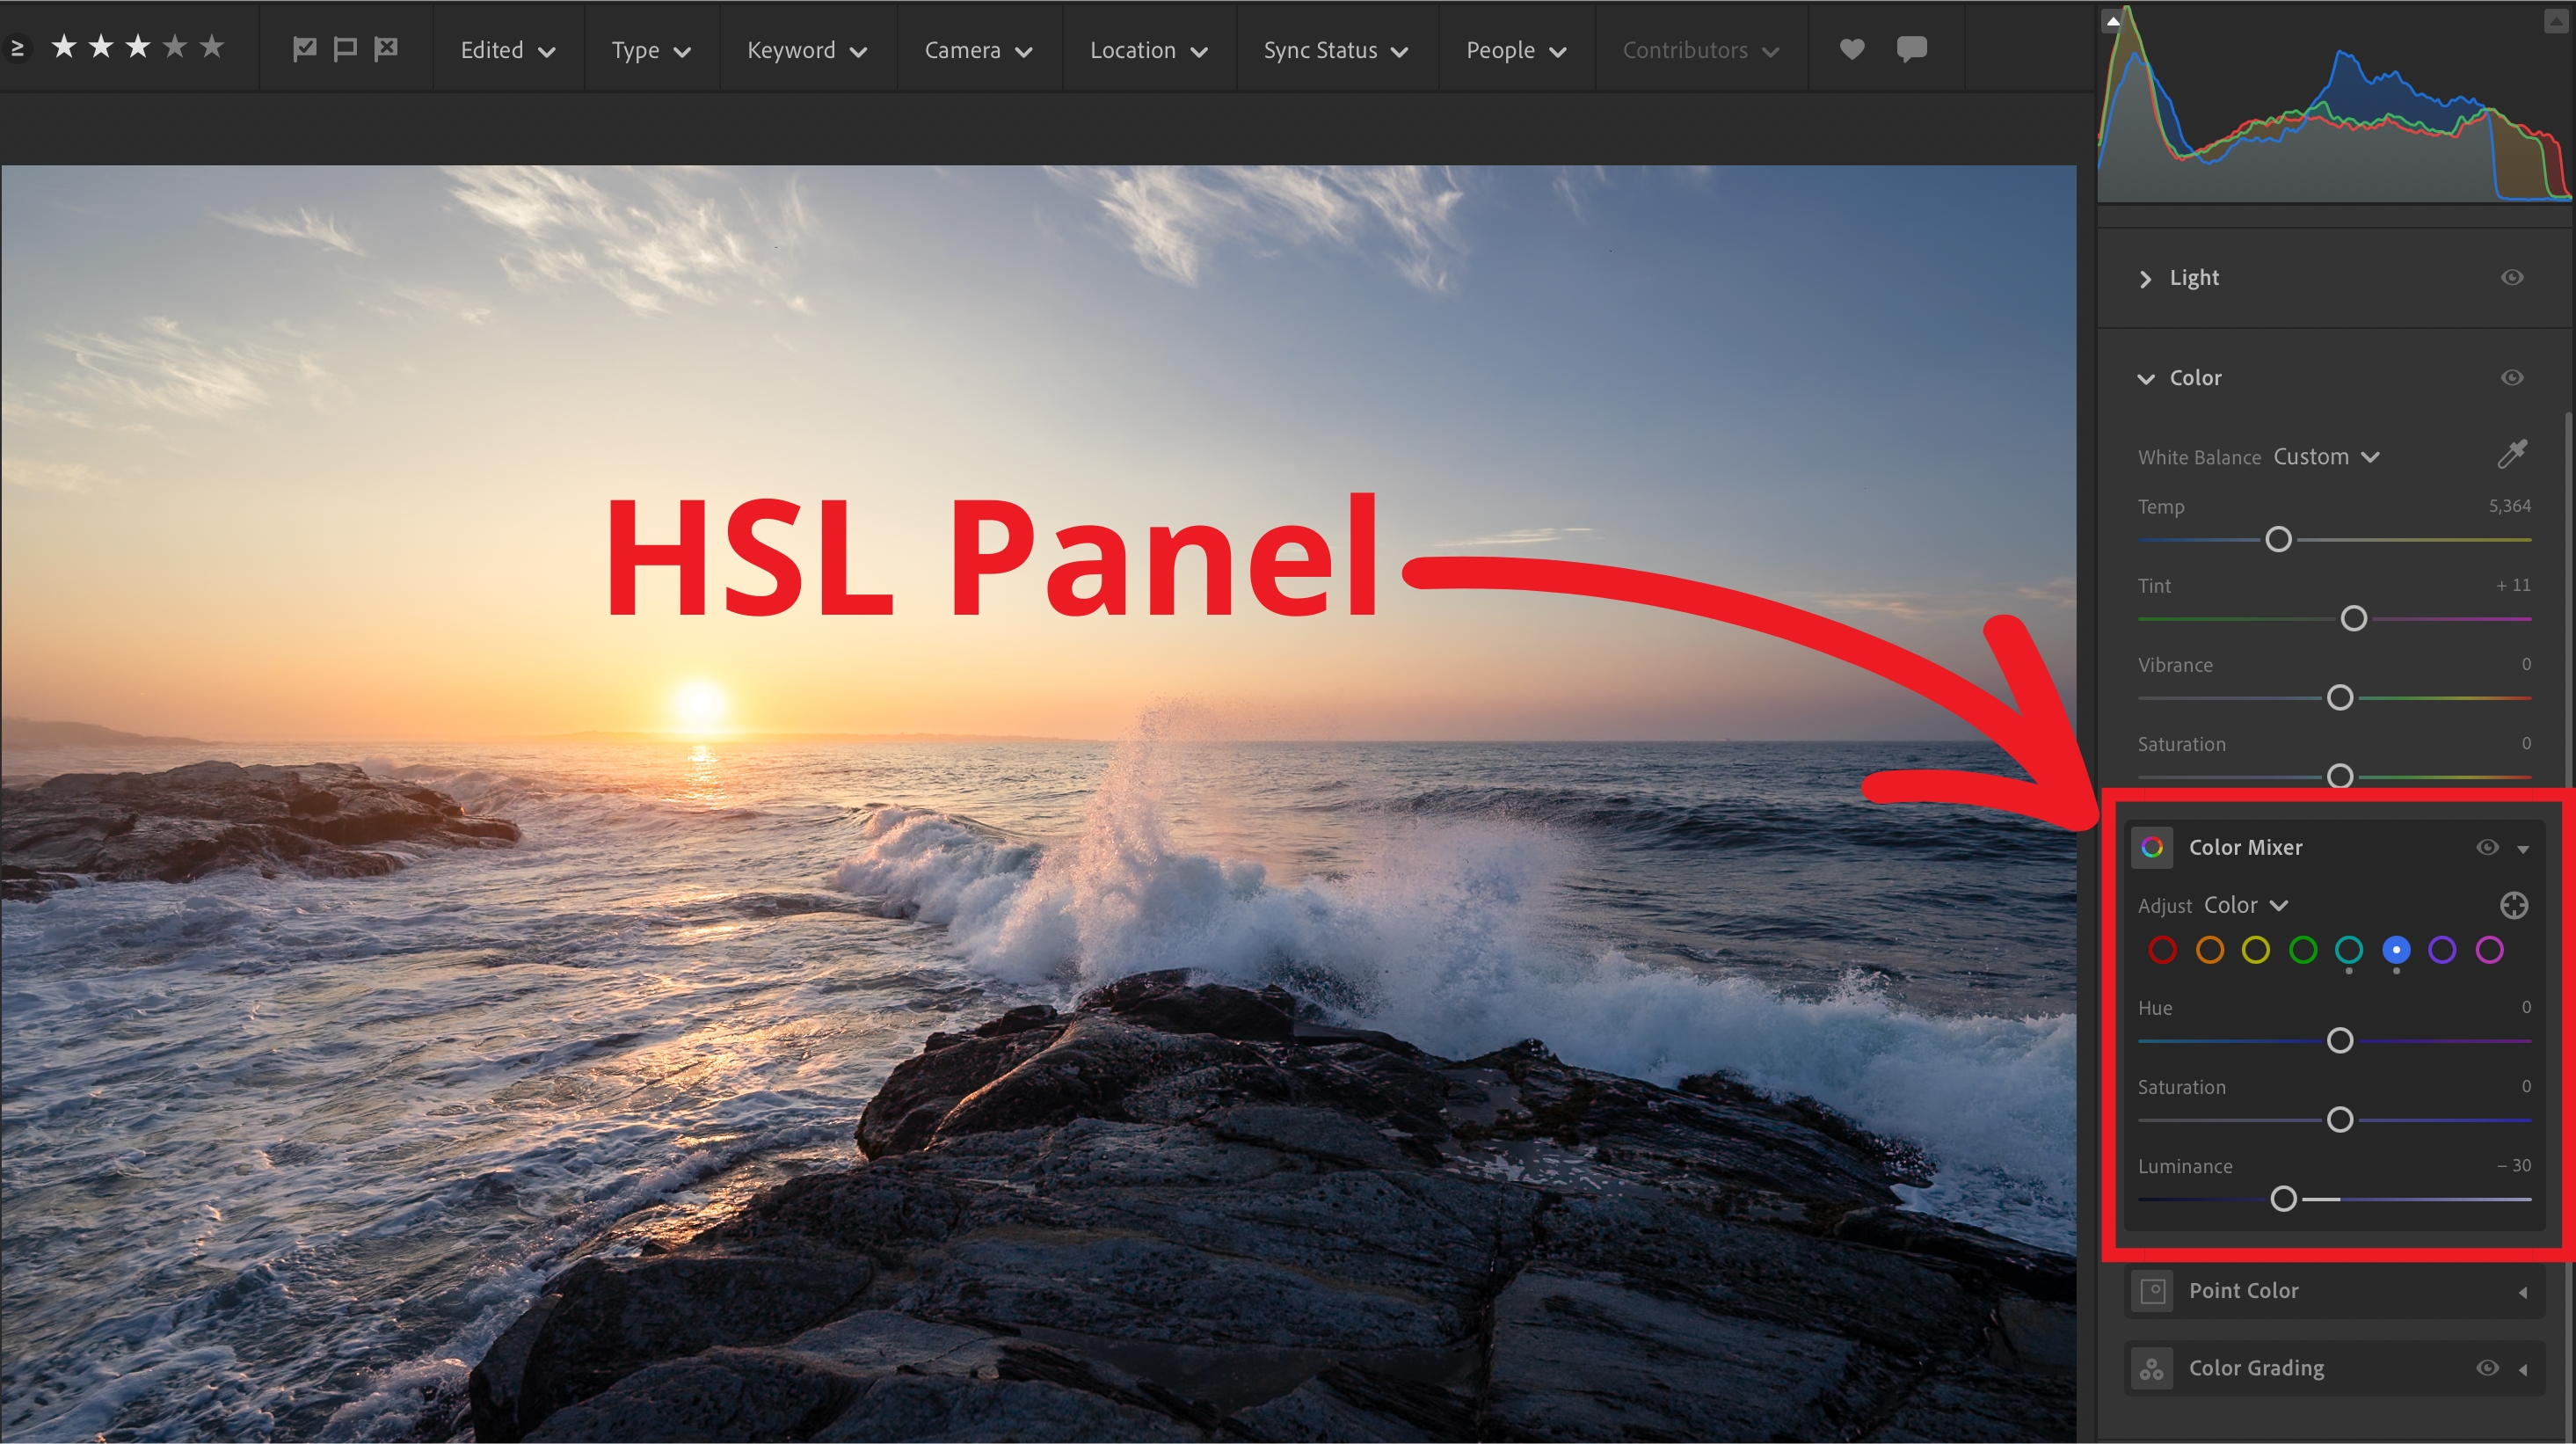
Want to take your seascape photos to the next level? Think about color. This is where the HSL panel comes in. HSL stands for Hue, Saturation, and Luminance. It’s a powerful tool. It helps you fine-tune colors. You get amazing results.
The Hue slider changes a color’s shade. Imagine shifting the blues in your ocean photos to more turquoise or deep violet. It’s all up to you.
The Saturation slider controls color intensity. Low saturation gives you muted, pastel colors. High saturation makes colors pop. This can be great for sunsets. You can make the oranges and reds really stand out.
The Luminance slider affects brightness. You can brighten or darken specific colors. This is great for seascape photography. Sometimes the sky is too bright. It washes out the details in the clouds. You can fix this. Just lower the luminance of the blues and whites. Now you see the texture. It’s like magic.
Think about a seascape photo. The sky is a dull blue. The water looks flat. But with the HSL panel, you can change everything. You can make the sky a vibrant orange. The water becomes a deep, rich blue. You’ll have an eye-catching photo.
Many photo editing programs have an HSL panel. Adobe Lightroom and Photoshop are popular choices. Capture One and Luminar also have this feature. Play around with it. Each slider affects the photo.
The HSL panel gives you control. You’re not just taking a photo. You’re creating it. This is where your artistic vision comes to life. So, get out there. Capture some amazing seascapes. And don’t forget to use the HSL panel. It’s your secret weapon for dramatic photos.
Embracing the Challenges of Seascape Photography
Seascape photography has its challenges. Changing tides are a major factor. Use a tide app and double-check local conditions.
Protecting your gear is also crucial. Water damage from salt, sand, and waves can be a problem. Protecting your gear can involve something as simple as paying attention to details (like where you left your tripod while you waded into waist-deep water for an epic shot).
Use camera cases with weatherproof protection, and bring extra cloths, waterproof gear, and protective cases for electronics. A zoom lens may offer additional versatility when dealing with the wild sea or other challenging situations.
Seascape Photography FAQs
Here are some frequently asked questions about seascape photography:
Q: What is the best time of day to shoot seascapes?
A:The golden hour and blue hour are generally the best times due to the soft and warm or cool lighting, respectively. However, dramatic seascape photos can be captured at any time of day with the right cloud cover.
Q: What camera settings should I use for seascape photography?
A:Settings vary depending on the desired effect. For capturing motion blur in waves, use a slow shutter speed (several seconds or more) with a tripod and ND filter. For freezing wave action, use a fast shutter speed (1/800s or faster). The ISO should generally be kept low to minimize noise, and aperture will depend on your desired depth of field. Your main subject, be it wet rocks or water flowing will impact the exposure times needed.
Q: How do I focus properly in seascape photography?
A:It can be challenging to focus manually when you can’t see clearly with the naked eye through the viewfinder, however focusing correctly is an important skill when dealing with long exposure times.
Consider starting with a small aperture, which will maximize depth of field, allowing your focus to not have to be as exact. Using live view and magnifying to check the focus will help you determine if the details are sharp or blurry in your image, making adjusting and readjusting the focal length and zoom a very streamlined process.
Conclusion
Seascape photography blends creativity and technical knowledge. You can experiment with light, exposure, positioning, and equipment. As you learn, consider the challenges like weather and tides.
Captureing seascape images offers many learning opportunities. Whether capturing fast motion, blurry water with long exposures, or moody scenes with subtle color details, anyone can achieve captivating results. Spend time at the coast practicing various composition rules, such as including light reflections and capturing a single wave. There are limitless ways to develop your seascape image composition and create beautiful images.
So, grab your camera and start shooting. Seascape photography rewards dedication, so take pictures every chance you get.


